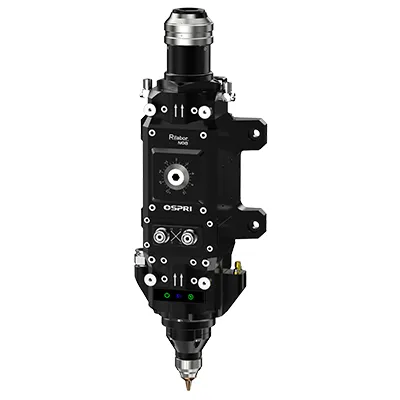
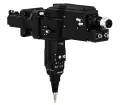
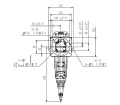
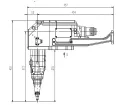
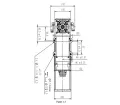
LCF08A
8kW Fiber Laser Bevel Cutting Head (Single Pendulum Right Angle)
Intelligent information auto focus laser cutting head for processing metal tubes and profiles with power ratings of up to 8kW
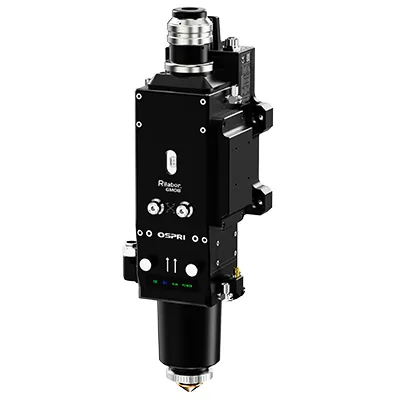
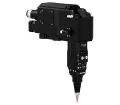
LCF08A1


Front laser interface/connector, figure 1 without mounting bracket , figure 2 with mounting bracket
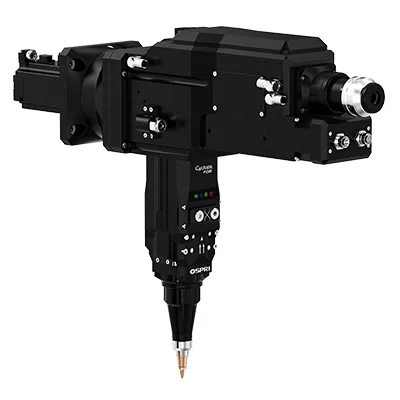
LCF08A2

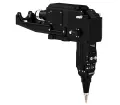
Rear laser interface/connector, figure 1 without mounting bracket, figure 2 with mounting bracket
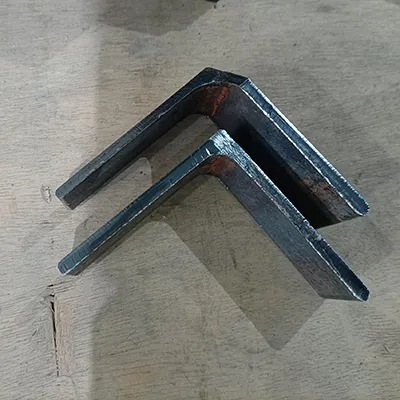
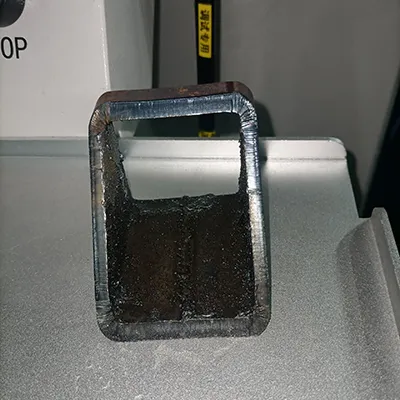
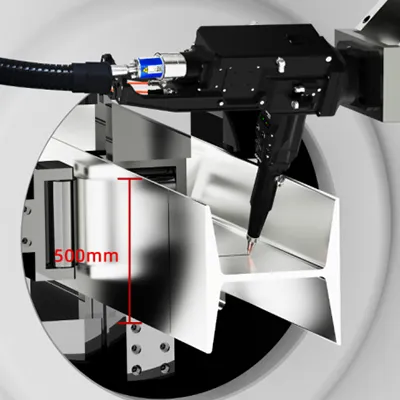
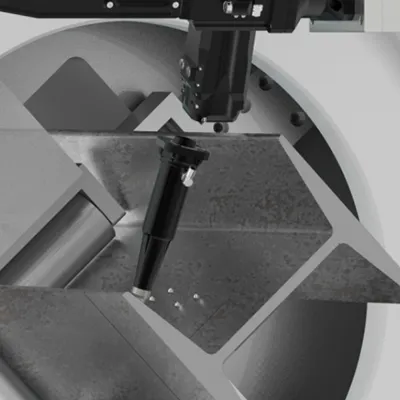
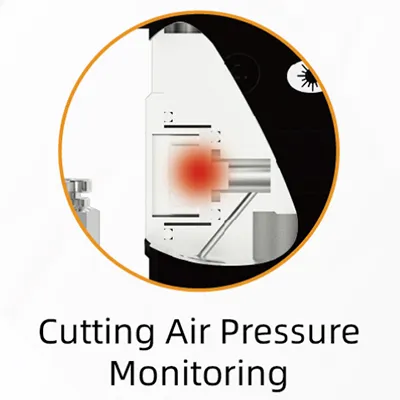
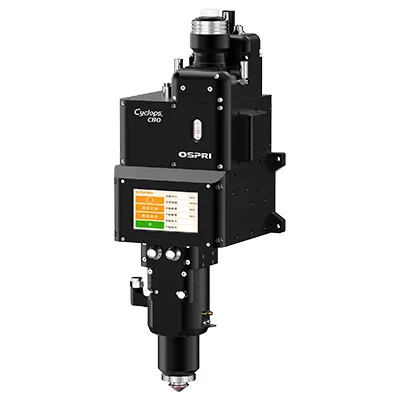
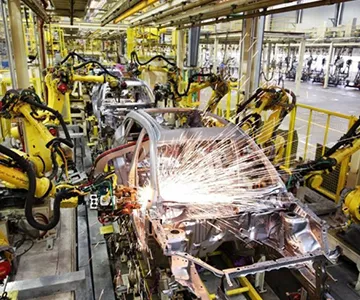
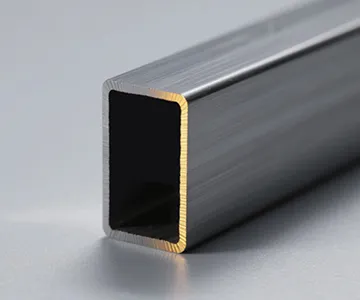
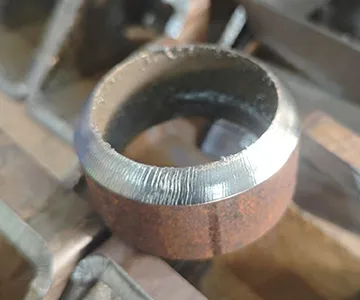
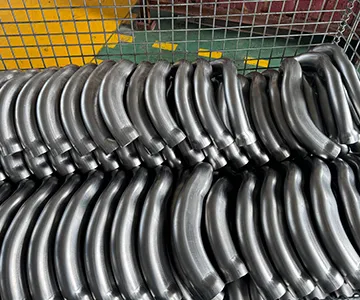
These 8 kW right-angle, single-pendulum laser heads run on side-entry tube/profile cutting machines or robotic cells and cut carbon steel, stainless, and aluminum. A long-range capacitive follower holds standoff on round, square/rectangular tubes and structural shapes (angle, channel, H-beam); collision protection resets quickly after bumps, and reinforced signal lines issue timely alarms, so quality stays steady and service is quick with front access and a slide-out protective window. These heads are used to cut tube and profile components such as frames, guardrails, furniture tubing, and chassis sections.