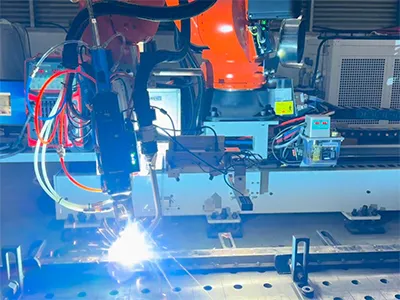
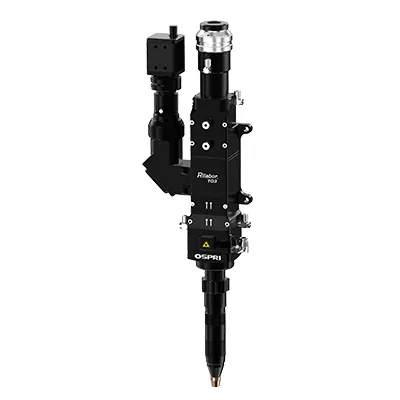
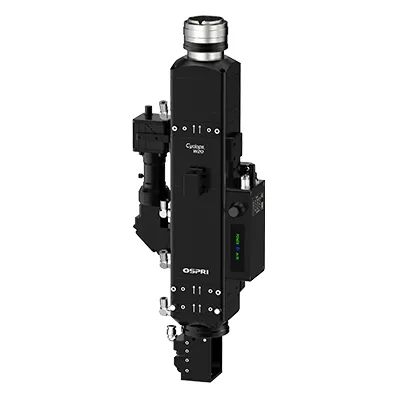
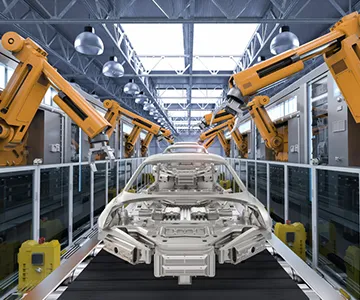
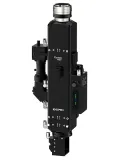
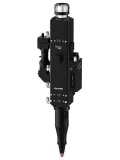
LRW20A0
20kW Single-Axis Wobble Laser Welding Head
Fiber laser welding head for processing various metals with power ratings of up to 20kW
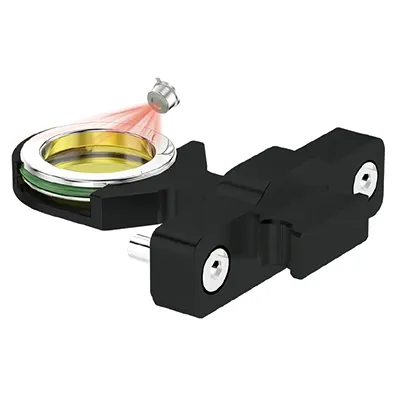
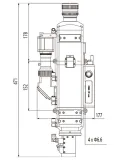
Air knife blowing
Coaxial blowing
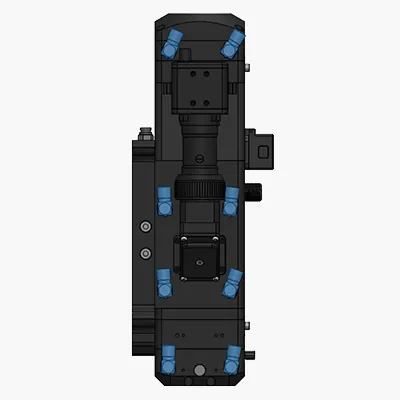
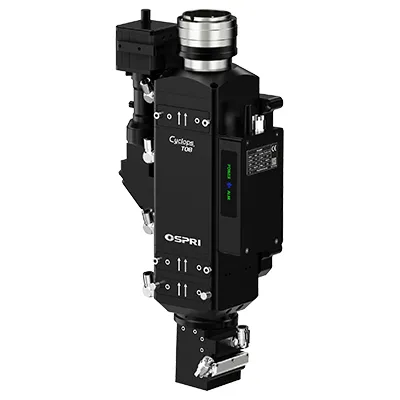
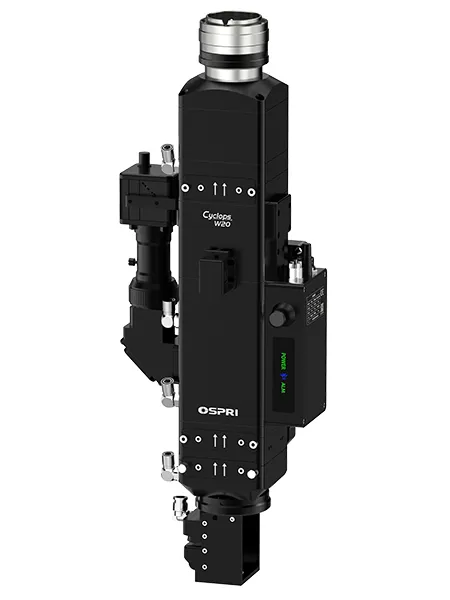
LRW20A0
20kW Single-Axis Wobble Laser Welding Head
Fiber laser welding head for processing various metals with power ratings of up to 20kW
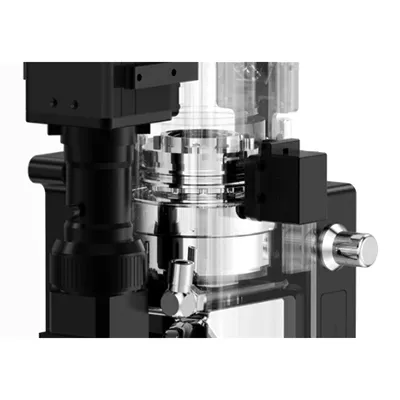
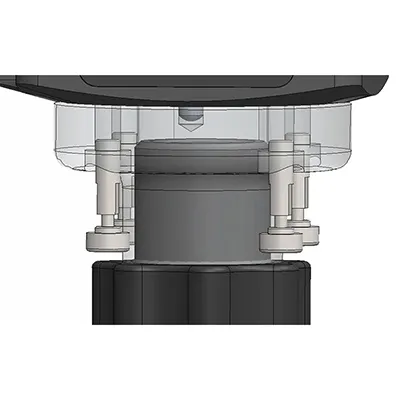
The high-power single-axis wobble welding head is equipped with an adjustable ring mechanism driven by a precision motor, ensuring stable and consistent performance. A fully water-cooled body provides effective temperature reduction, enabling long-term continuous operation. The head also features contamination monitoring for timely alerts and collision protection for rapid recovery, minimizing downtime and ensuring production reliability.